Create a Table
Objective
To create a table.
Background
Tables can be used to organize files, links, and documents. Newly created tables are automatically set to responsive so that they resize and better fit screens for mobile devices. A tables appearance can be customized for various uses. For examples, refer to the following:
Steps
Insert a Table
- Navigate to the page that you want to add an asset to.
- Click Edit and select Edit Live.
- Click into the area where the table needs to be placed.
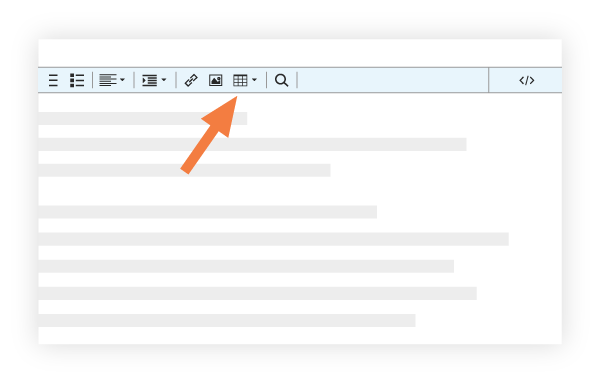
- Click the Table icon within the Editor Toolbar and highlight the number of rows and columns you want to appear in your table.

Add or Remove Rows and Columns
- Click in the table and arrow icons are visible next to the first cell in the respective row and column.

- Click the arrows to add columns or rows in either direction of the cell, or click the X above the cell to remove that row or column.
Customize Table Width
- Right click anywhere in the table.
- Select Table properties from the menu.
- Remove checkbox for Make table responsive.
- Click OK.
- Drag the dashed column border to the desired width.
Next Steps
- Click into the row or column you want to add text or an asset to.
- For further customizing of the table, see Add Table Styles.
- To customize the background color of the table, use the Background Color picker and select a preferred color.
- Click Save.

