Add a Site Team to a Timesheet (iOS)
Objective
To add a site team to a timesheet using the Procore app on an iOS mobile device.
Background
Procore's Timesheets tool is integrated with the Site Teams tool, which enables users to leverage existing groups of laborers organized into "site teams" when creating a timesheet. This allows for faster and more accurate Timesheet creation.
Things to Consider
- Required User Permissions:
- 'Standard' or 'Admin' level permissions the project's Timesheets tool.
AND - 'Read Only’ level permissions or higher on the Site teams tool.
- 'Standard' or 'Admin' level permissions the project's Timesheets tool.
- Additional Information:
Prerequisites
Steps
- Navigate to the Timesheets tool using the Procore app on an iOS mobile device.
- Tap the date for which you want to create a timesheet.
- Tap the
icon.
- Tap Create New Timesheet.
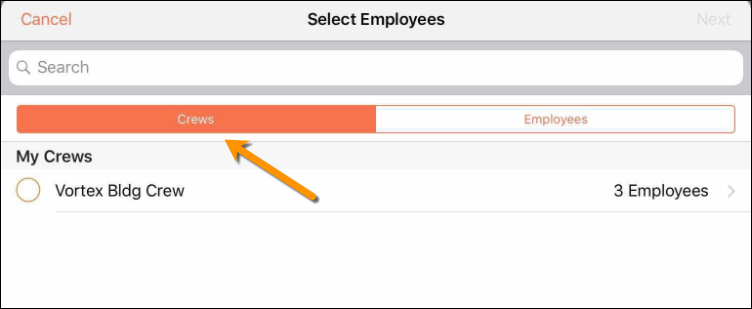
- Under the Site teams tab, tap the name of the site team you want to add to the Timesheet.
- Tap Next.
- Tap Add Line next to each site team member's name to enter the desired information into the timesheet or tap Bulk Enter to enter timesheet information for the entire site team.
Note: Information entered in Bulk Time Entry will apply to ALL timecard entries on a timesheet. - Tap any of the following fields to modify the information:
Notes
- An asterisk (*) denotes a required field.
- Some fields can be configured as required, optional or hidden. See Which fields in the Timesheets tool can be configured as required, optional or hidden?
- Classification: Select the employee classification from the drop-down menu associated with the time entry. See Enable Classifications on a Project.
- Sub Job: Select from the drop-down menu the sub job associated with the time entry.
- Cost Code*: Tap to select the cost code associated with the time entry.
Note: If you are an admin on the Company Admin tool, you can limit the cost code selections that appear in this list. To learn more, see Configure Advanced Settings: Company Level Timesheets. - Location: Select from the drop-down menu the location where the work was performed by that user.
- Start Time*: Select the time the user began working.
- Stop Time*: Select the time the user stopped working.
Note: You will only see the Start and Stop fields if you have configured your settings to show these fields. See Configure Advanced Settings: Project Level Timesheets. - Lunch Time: Select from the drop-down menu the amount of time taken for a lunch break. Select from the following options:
Notes:- The amount of time selected will be subtracted from the Total Time.
- This field will only be available if Start Time and Stop Time is enabled.
- 0 min (Default)
- 30 min
- 45 min
- 60 min
- Time Type: Select from the drop-down menu the type of pay being entered. Select from the following options:
Note: If you are an admin on the Company Admin tool, you can add custom time types to this list. See Configure Advanced Settings: Company Level Timesheets for more information.- Regular Time
- Double Time
- Exempt
- Holiday
- Overtime
- PTO
- Salary
- Holiday
- Billable: Tap the toggle to indicate whether or not the entry is billable.
- Description: Tap the field to enter additional comments that will show in the timecard entry.
- Add Line: Tap to create extra line items on a time entry.
Note: If using the Start and Stop 'Time Entry' method, the new line's Start Time will account for time already entered and the new line's Stop Time will reflect the default Stop Time in your settings. Any time entered after the default Stop Time will be added in one hour increments.
- Tap Apply.
- Tap Submit.