To customise the columns in the Company or Project level Directory tool.
Background
You can customise the columns in the Directory tool so it shows data that is relevant to you and your project.
Things to Consider
Required User Permissions:
'Read Only' level permissions or higher on the Company or Project level Directory tool.
Additional Information:
You can only customise the columns in the Users view.
The 'Permission Template (Assigned)' column is hidden by default in the Project level Directory tool.
Steps
Navigate to the Company or Project level Directory tool. This reveals the Company Directory or Project Directory page. Note: The actions shown in the animations below can be performed on both the Company Directory and Project Directory pages.
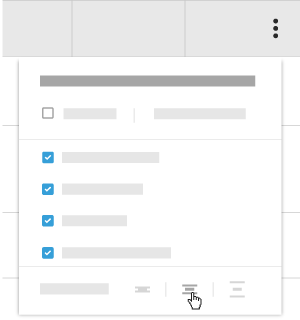
On the right side of any of the views, click the vertical ellipsis (⋮).
This opens the Show, Hide or Reorder Columns shortcut menu.
Choose from these options:
Show a Column Place a check mark in the box next to column to show on the Directory page. The default setting is to show all available columns. OR
Hide a Column Remove the checkmark from the box that corresponds to the column to hide on the Directory page. This immediately removes the column from the page.
OR
Reorder the Columns Grab the column name by the dots (⁞⁞). Then use a drag-and-drop operation to place the column into the desired position in the list. This immediately moves the column into the specified position.
OR
Restore the Default Settings Click the Reset to Default link at the top of the drop-down menu.
Set the Row Height Click one of the available Row Height icons to set the relative height of the rows in the table.