Best Practices for Using the Tasks Tool
Objective
To implement best practices for successful use of Procore's Tasks tool.
Background
Procore's Project level Tasks tool gives you the ability to track and manage action items during a construction project's lifespan.
Things to Consider
- Required User Permission:
- 'Admin' level permission on the Company's Admin tool.
Steps
To successfully configure Tasks tool, begin by following the steps below.
Configure your Permission Templates
Update your permission templates to include the Tasks tool. We recommend granting all users at least 'Standard' level access to the Tasks tool, so that team members can create tasks and be assigned items.
- Navigate to the project's Directory tool.
- Locate a user in the Directory list.
- Click Edit next to the user's name.
- Scroll to the Project Permissions Templates drop-down list and select Do Not Apply a Template.
Choosing this option allows you to define unique permissions for the user. - Scroll to the 'Tasks' row and select Standard.
Note: Users with 'Admin' level access to the Directory tool will automatically have 'Admin' level access to the Tasks tool.

- Choose one of the following options:
- If you want to save the changes without emailing the user about the change, click Save.
- If you want to notify the user of the change, click Save & Send Notification.
Note: This button is only available when the user has previously logged into Procore. - If this is a new user and you want to invite them to join Procore, click Save and Send Invite to Procore
Note: This button is only available when the user has not logged into Procore.
Set your Categories
In the Company Admin tool, you can create categories to which you can assign tasks within a project.
- Navigate to the Company level Admin tool.
- Under 'Tool Settings', click Tasks.
- Enter the new category into the text box.
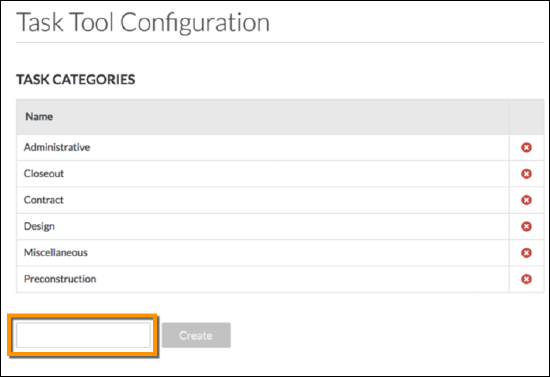
- Click Create to add the new category.
This category can now be assigned to a project level task.
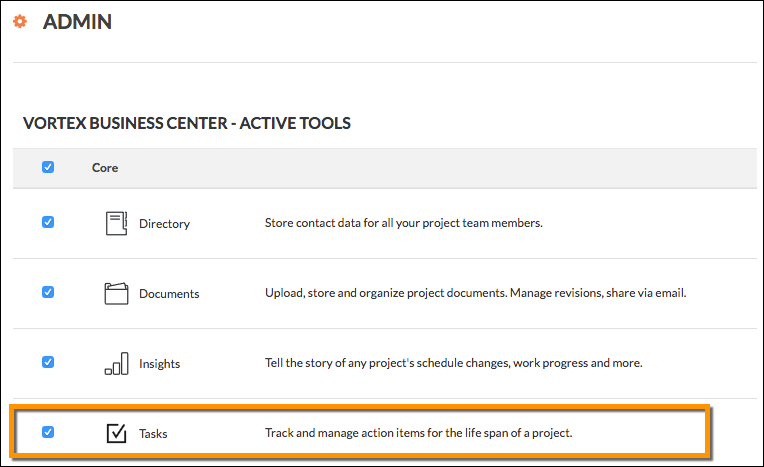
Enable the Tasks Tool on your Project
By default, the Tasks tool will be enabled for any existing projects. To ensure the Tasks tool is enabled on future projects, you can enable it in your Standard Project Template by following the steps below.
- Navigate to your desired project template. See Configure a Project Template.
- Navigate to the project's Admin tool.
- Under Project Settings, click Active Tabs.
Note: This reveals a list of tools and their status as active or inactive in the project. - Mark the checkbox next to Tasks to enable the tool in your project.
- Click Update to save your project settings.