Create a Configurable PDF of an Owner Progress Claim (Legacy)
Objective
To create a customised PDF for an owner progress claim using the configurable PDF options.
Background
When working with an owner progress claim in Procore, the Detail tab and the Configurable PDF tab of the progress claim show its line items. The Configurable PDF tab lets you customise the way line items display on an owner progress claim. With the features in this tab, you can group and summarise your progress claim's data the way you want before presenting it to the owner you are billing.
In a Configurable PDF, a group is an object that organises progress claim line items together. In Procore, the default groups are available in a Configurable PDF are Sub Job (if enabled), Division, Cost Code and Cost Type. You can also create custom groups that contain custom items to then apply those custom items to your PDF.
Examples
- How to Organise a Configurable PDF Using a Default Group
Let's assume your team created different sub jobs on a Procore project to represent different project phases. In this example, you want to create a configurable PDF that groups the line items on the owner progress claim into the appropriate project phase. Assuming you have created sub-jobs names 'Phase 1', 'Phase 2', and 'Phase 3', you can choose 'Sub Job', from the 'Add Group' drop-down list. You can then place all of the line items that have been classified as 'Phase 1', 'Phase 2', and 'Phase 3' into separate groups. - How to Organise a PDF Using a Custom Group
Let's assume your team uses its own system of customised billing codes. You can create a new group for the configurable PDF named 'Billing Group 1" to house your codes. Then you can create new items in the group to represent your bill codes. For example, 'Bill Code A', 'Bill Code B', 'Bill Code C' and so on. Once your group and codes are created, you can then apply the group to the configurable PDF and then assign your custom bill codes to the individual line items on the progress claim.
Things to Consider
- Required User Permissions:
- 'Admin' level permissions on the project's Head Contracts tool.
- To view a configurable PDF on a head contract, 'Read Only' permission on the Head Contracts tool
- Additional Information:
- You can export a PDF copy of the Configurable PDF tab to share with the owner. See Export a Configurable PDF of an Owner Progress Claim.
- You can email the Detail tab of a progress claim. To learn more, see Email an Owner Progress Claim.
Prerequisites
- Create a head contract. See Create Head Contracts.
- Add the SOV line items to the head contract. See Update the Schedule of Values on a Head Contract.
- Confirm that all parties to the head contract are in agreement prior to changing its status to 'Approved.' See Approve a Head Contract.
- Add an owner progress claim to the head contract. See Create Head Contract Progress Claim.
Steps
Manage Custom Groups
These steps show you how to navigate to the Manage Custom Groups window.
- Navigate to the project's Head Contracts tool.
- Locate the head contract associated with the owner progress claim containing the configurable PDF. Then click the Number link.
- Click the Progress Claims tab.
- Locate the progress claim that you want to customise in the list. Then click View.
- Click the Configurable PDF tab.
- Open the Add Group drop-down list.
- Select any of the default groups in the list.
- Optional: Click Manage Custom Groups.
- In the Manage Custom Groups window, continue with:
Add a New Group to the Add Group Menu
These steps show you how to create a custom group so it appears as an option in the 'Add Group' drop-down list in the Configurable PDF tab.
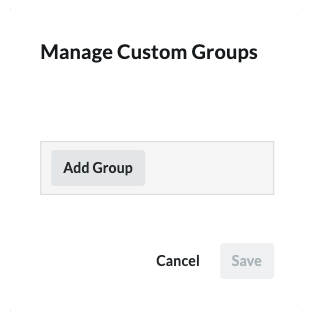
- In the Manage Custom Groups window, click Add Group.
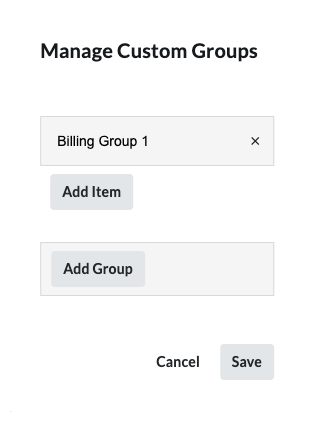
- Type a label for the group in the Enter Group Name label box. Then press ENTER. Add as many groups as you want.
Note
- After you press ENTER, the system automatically saves the group name and adds it as a selection in the Add Group drop-down list on the Configurable PDF tab.
- To delete a group, click the (x) next to the group name to permanently remove it and any items associated with the selected group.
- Continue with Add Items to a Group.
Add Items to a Group
These steps show you how to add bill codes to a custom group.
- In the Add Custom Groups window, locate the group that you want to add billing codes to.
- Click Add Item.
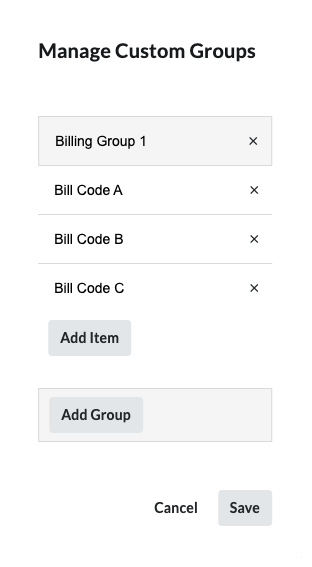
- In the Enter Item Name box, type a label for the code. Then press ENTER.
Note
- Add as many items as you want to each group.
- Click the Save button.
A GREEN 'Groups Saved' banner appears at the bottom of the page. - Continue with Assign the Progress Claim's Line Items to an Item in a Group.
Assign the Progress Claim's Line Items to an Item in a Group
After you have created the groups and items that you want to use for your progress claim, you can start organizing your line items so they appear as you want.
- Click the Configurable PDF tab.
- Place a checkmark next to the progress claim line items that you want to assign to a custom item.
Note: This action changes the label on the 'Add Group' drop-down list to 'Edit.' - In the Edit drop-down list, select the group that contains the custom items that you want to assign to your progress claim's line items.
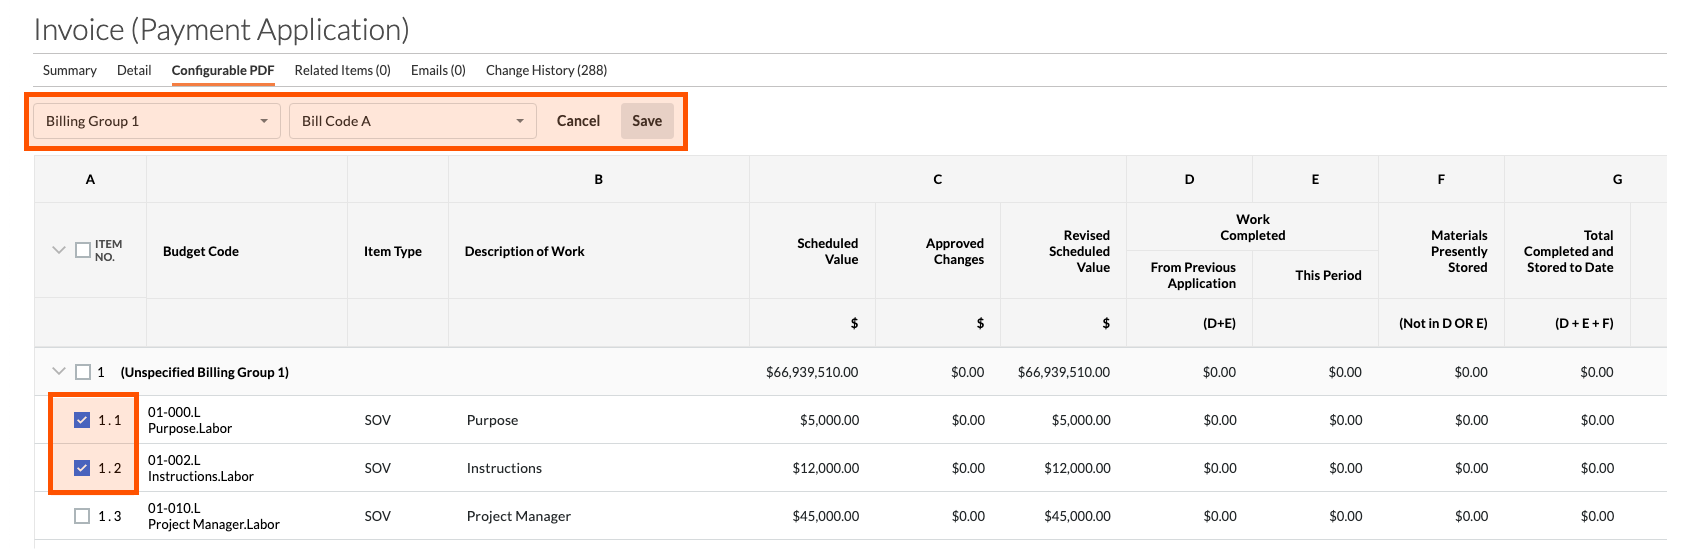
- Click Save.
Tips
- Any progress claim line items not assigned to a custom item in a group will appear in a section titled 'Unspecified [Billing Group Name]'. There is no option to remove that naming convention.
- If you do not want the 'Unspecified [Billing Group Name]' to appear on your progress claim, it is recommended that you add an item named 'None' or 'Other' (or a term of your choice) to your group. Then assign your progress claim's line items to that item in the group.