Getting Started Guide: Procore Plugin for Co-ordination Issues
Objective
To learn the best practices for using the Procore plugin for Co-ordination Issues.
Background
You can create and manage co-ordination issues in two places: the Co-ordination Issues tool or the Procore plugin for your Navisworks® application.
Things to Consider
- Required User Permissions:
- See Permissions for Coordination Issues.
- Additional Information:
- Refer to Using the Procore Plugin for the steps required to navigate to the Procore plugin and work with co-ordination issues.
- Add project locations that match your co-ordination program before creating new co-ordination issues.
Steps
Initial Setup
- Add locations to the project using one of the following methods:
- Revit® and the Procore Plugin: Import Locations Using the Procore Plugin for Revit®
- Procore Imports: Import Locations into your Project Level Admin Tool (Procore Imports)
- Add locations manually in Procore: Add Tiered Locations to a Project
- Assign permissions to users in the project. See Manage Project Permissions Templates.
Note: For the Co-ordination Issues tool, we generally recommend assigning 'Standard' permissions for subcontractors and designers and 'Read Only' to site teams such as site managers, foremen and trades. - Download and install the application for the Procore plugin.
- Associate a model with a Procore project.
Using the Procore Plugin
Follow these steps to set up the Procore plugin and start working with co-ordination issues.
Note
You can complete some steps in a different order to fit your workflow.- Make sure you have downloaded and installed the Procore plugin application and logged in. See Initial Setup above.
- Open the Navisworks® application on your computer.
- Open the associated model you are working with.
Note: The name of the file must match the model that was originally associated to the project. - Make sure the model is associated with a project in Procore. See Associate a Model with a Procore Project.
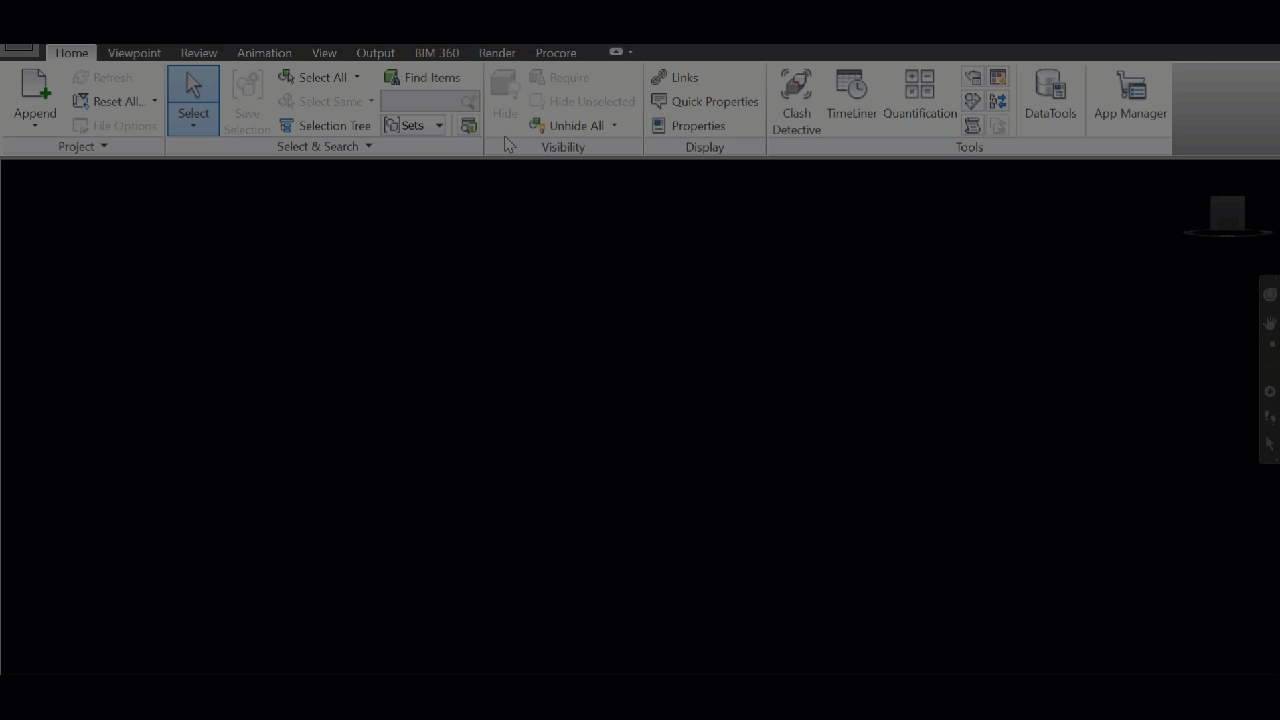
- Click the Procore tab to open the Procore plugin.
- Click Issues List.
- Click and drag the Procore window to an area of the application's screen.
Note: We recommend pinning it to the right-side panel of the application so you can easily view both Procore and your model at the same time.
- Optional: Click the Activity tab to open and arrange the Activity window. See View the Activity Feed of a Co-ordination Issue.