Bulk Edit the Status of Subcontractor Progress Claims in the Progress Billings Tool
For Procore Customers in the United States
 When your company applies the 'Owners English' or 'Specialty Contractors English' point-of-view dictionary, you'll see different tool names and term changes in the user interface. Learn how to apply the dictionary options.
- To learn the differences: Show/Hide
Objective
To bulk edit statuses for multiple subcontractor progress claims using the Progress Billings tool.
Background
With the Progress Billings tool, you can use the steps below to change the status of multiple subcontractor progress claims at once.
Things to Consider
Prerequisites
Steps
- Navigate to the project's Progress Billings tool.
- Click the Subcontractor tab.
- Mark the checkboxes next to the progress claims that you want to update.
- Click Edit.
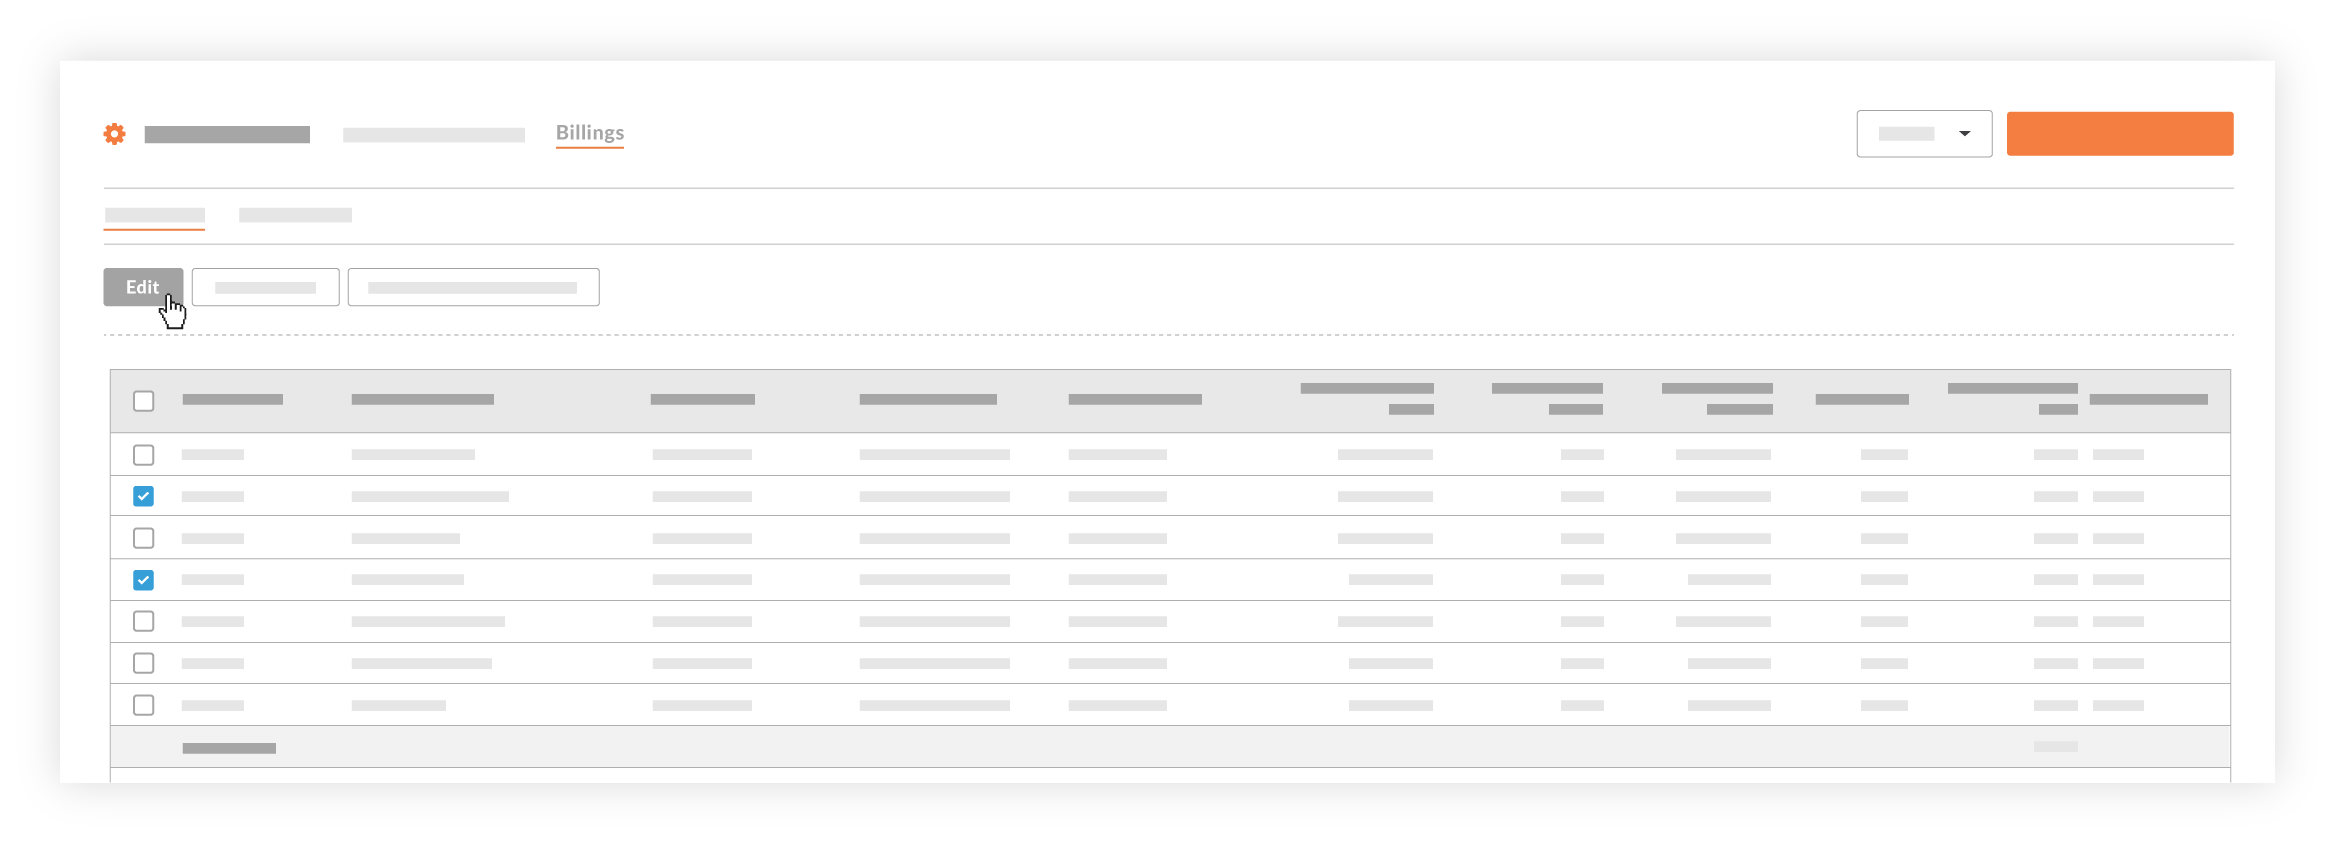
- Select the appropriate status from the drop-down list.
Note
-
To learn more about statuses, see What are the default statuses for Procore progress claims?
-
When creating a progress claim (see Create a Progress Claim on Behalf of a Progress Claim Contact or Create and Submit a Progress Claim as a Progress Claim Contact), change the progress claim's status to 'Under Review' when you are ready to send it to the progress claim administrator. The administrator can then change its status to 'Approved' as needed.
- Users with 'Standard' level permissions can bulk edit progress claims only when the progress claim is in the 'Draft' or 'Revise & Resubmit' status.
-
- Click Save Edits.