Procore

Copy a Previous Timesheet

Also available on  ios-gray-icon.jpg android-gray-icon.jpg 

Objective

To create a new daily timesheet by copying an existing timesheet in the project's Timesheets tool. 

Background

When creating a new daily timesheet, you have the option to copy a previous timesheet. Copying a previous timesheet can save time on data entry, especially if your daily timesheet contains repetitive data entry for the same site team members. 

Things to Consider

  • Required User Permissions:
    • 'Standard' level permissions or higher on the project's Timesheets tool.
  • Additional Information:
    • You can still Add Employees to the new timesheet. See Add Employees to a Timesheet.
    • You can still Bulk Time Entry information for multiple employees on the timesheet. See Bulk Enter Time Entry.
    • You can choose to copy either the previous timesheet that you created or any previous timesheets that you have access to view. 

Prerequisites

Steps

  1. Navigate to the project's Timesheets tool.
  2. Select the date for which you want to create a timesheet using the drop-down calendar control.
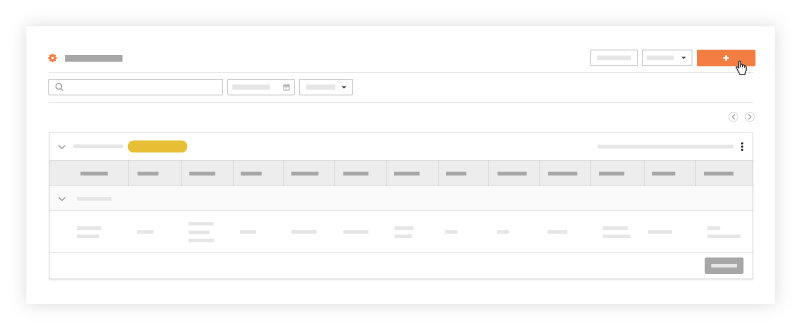
  3. Click Create.
    create-timesheet.png
  4. Click Copy From Previous to copy the previous timesheet that you created.
    OR
    Click Copy From Any Date to copy any previous timesheet that you have access to. Then select the timesheet to copy and click Copy Timesheet.
    Notes: 
    • You can use the arrows to navigate day-by-day or select using the drop-down calendar control.
    • Note: By default, Procore displays the date with the most recent timesheet.
  5. Optional: Click Add Employees to include additional employees that were not selected on the previous timesheet.
  6. Optional: Click Bulk Time Entry to apply the same information to multiple workers on the Timesheet. See Bulk Enter Time Entry for more information.
  7. Optional: Change any of the following information if desired:
     Notes
    • Classification: Select from the drop-down menu the employee classification associated with the time entry. See Enable Classifications on a Project
    • Sub Job: Select from the drop-down menu the sub job associated with the time entry.
    • *Cost Code: Enter or Select from the drop-down menu the cost code(s) associated with the time entry.
      Note: If you are an admin on the Company Admin tool, you can limit the cost code selections that appear in this list. To learn more, see Configure Advanced Settings: Company Level Timesheets.
    • Location: Select from the drop-down menu the location where the work was performed by that user.
    • Time Entry
      • Start and Stop Time Entry Method
        If your company is configured to use this 'Time Entry' method, you'll see the following fields along with the project's default time values.
        Note: You will only see the Start, Stop and Lunch fields if you have configured your settings to show these fields. See Configure Advanced Settings: Project Level Timesheets.
        • *Start Time: Enter or Select the time the user began working.
        • *Stop Time: Enter or Select the time the user stopped working.
           
        • Lunch Time: Select from the drop-down menu the amount of time taken for a lunch break. The amount of time you select is subtracted from the Total Time. Select from the following options:
          • 0 min (Default)
          • 30 min
          • 45 min
          • 60 min
      • Total Hours Entry Method
        If your company is using configured to use this 'Time Entry' method, enter the total number of hours worked in the Hours field.
    • Time Type: Select from the drop-down menu the type of pay being entered. Select from the following options:
    • Billable: Select from the drop-down menu if the hours are billable by clicking Yes or No.
    • Add Description: Click to enter additional comments to the time entry.
    • Add Line Item: Click this option to create extra line items on a time entry. 
      Note: If using the Start and Stop 'Time Entry' method, the new line's Start Time will account for time already entered and the new line's Stop Time will reflect the default Stop Time in your settings. Any time entered after the default Stop Time will be added in one hour increments.
  8. Click Submit and Add Quantities if you would like to add quantities to your timesheet.
    Note: This button will be disabled if quantities have not been uploaded in to your project. See Add Quantities to a Timesheet for more information.
    OR
    Click Submit. The timesheet is automatically copied over to the selected date.
    A banner will appear at the bottom of the page confirming the timesheet was successfully created.